This is another one of those posts where I wear my heart on my sleeve about how great Synology is. A lot of that has to do from spending many, many years in an abusive relationship with OS X/macOS Server, which was good during the good times, but when it was bad it was very, very bad. In this time of global apocalypse it’s increasingly important to be able to get remote access to vital data resources, and Synology’s DSM has a really convenient way of doing that in their QuickConnect product, which simply gives you a convenient portal to access your DiskStation from anywhere in the world and administer it through a browser. Sounds good?
No. No, that isn’t good. I mean, I get it; it’s an intelligent and functional way of remote access and administration, but it isn’t ideal. Convenient? Sure. But problematic.
The thing with QuickConnect is that the nature of the thing requires remote access, and the thing about remote access over the internet is that, well, it’s remote access over the internet. And the internet isn’t exactly famed and noted for it’s utter infallibility and ironclad invulnerability.
Tangible example (don’t try this at home and I’m certainly not going to get into specifics because this is ethically problematic territory): it took me about five minutes and some well-crafted Google searches to find, build and install the tools and methods to pull a list of every single subdomain on the internet in the quickconnect.to domain. It’s a big list, and I’m willing to bet that most of those Synology QuickConnect setups are legitimately and intelligently setup with clever usernames and passwords and lots of security. But, statistically, there’s a likelihood – a decent one – that a lot of those have “admin” as the username and “admin” as the password. Or “Password”. Or, I don’t know, “12345678”.
Were I interested in larceny and mischief then I could script the means to run down that list and try the most common usernames and passwords against each of those entries. And I’m pretty sure that I’d end up with, well, a healthy handful of hits. That translates to complete, unfettered access to the files and data of the respective companies and institutions, along with usernames and emails and passwords, VPN access credentials and so on.
Fortunately, there are some pretty basic things you can do to somewhat lock down QuickConnect and the DSM in general. And when I say “somewhat” that’s because hey, this is the internet and no, there’s no such thing as secure, but yes, there is such a thing as making breaking into your stuff difficult and expensive and time-consuming, and yes, that’s your best shot at what we’re euphemistically calling cybersecurity these days.
The best tool in the arsenal is to enable two-step verification to the DSM, so that when you connect via QuickConnect you’ll also have to have access to an authenticator app on your phone in order to retrieve a six-digit code. It is, thankfully, a pretty simple operation.
Sign into your Synology DSM as per usual, then navigate to the person-shaped icon at the upper-right corner of the window and choose Personal, and then choose Account. You’ll see a helpful box marked “Enable 2-Step Verification” that will mostly likely be greyed out if you haven’t set up your Synology with an email account that it can use for notifications. If that’s the case then click on the “Email Account” tab and hit “Add”. You’ll be prompted to add either an Outlook, GSuite, or other email account thus:
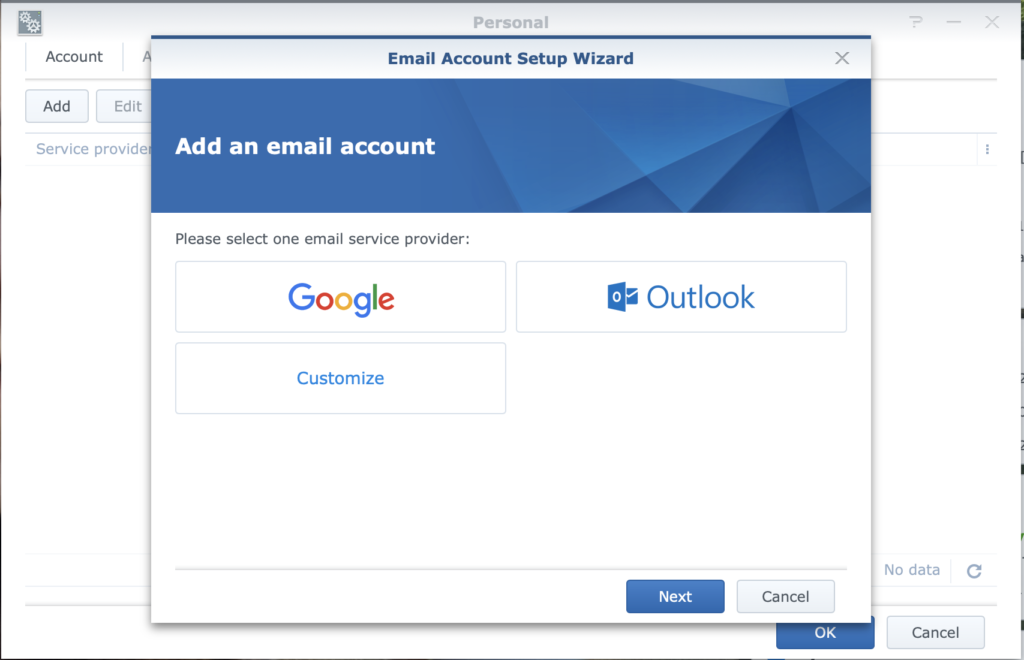
Choose the appropriate option, hit Next, then follow the prompts to connect your email Account with the Synology Personal Notification service. If you’re using GSuite (like I do) then it’s as simple as clicking “Allow” at the next window. Seriously.
Once that’s out of the way you can go back to the “Enable 2-Step Verification” box and check it, then walk through the Wizard, which will ask you for an email address to use as an emergency backup. It’s probably best to use a different email address than the one associated with the Notifications setup in the last step. After that you’ll be given a QR code to scan into the authenticator app of your choice (I use Google Authenticator).
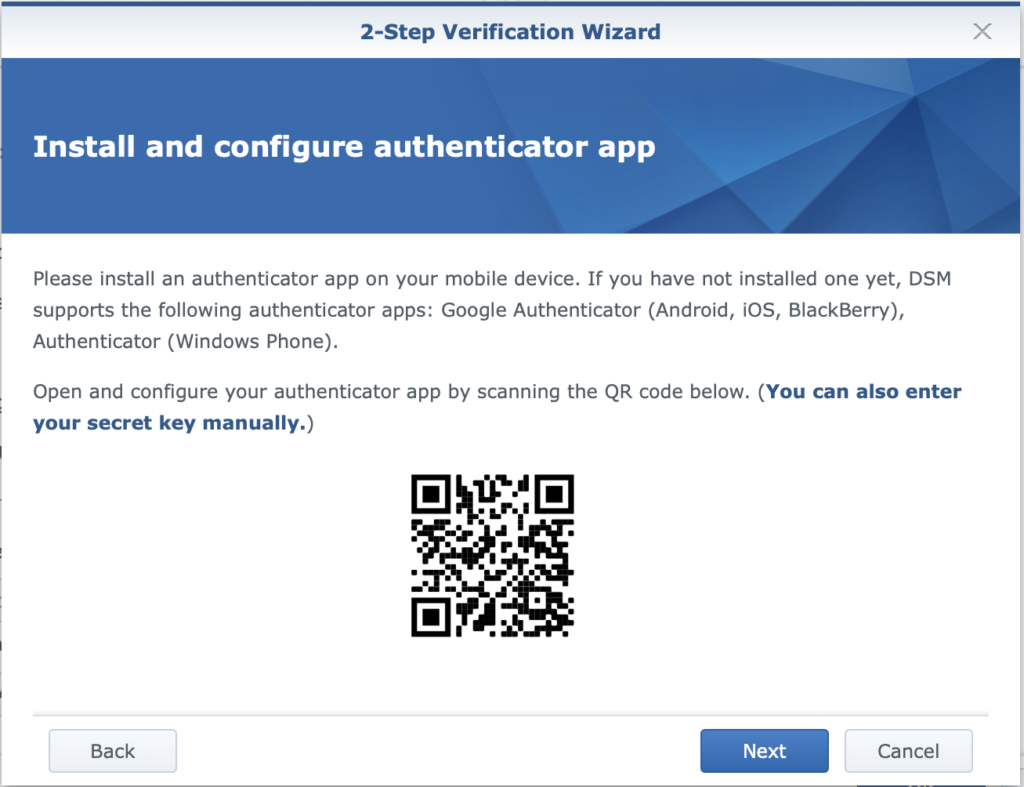
Log out of the DSM, and when you log in again you’ll be required to enter the six-digit verification code found in your authenticator app, and can then breathe a little easier. It’s no VPN, but it’s a lot better than just leaving everything open and hoping that you remembered to change the default user name and password…